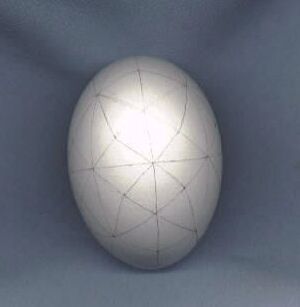
Beginning with this clean white chicken egg, I divide the egg into sections (mapping) using a No.2 pencil and a fabric measuring tape.
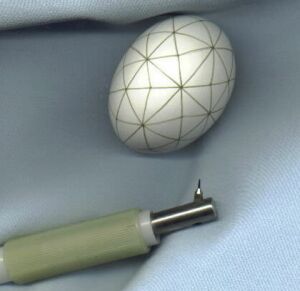
I draw over the grid lines with beeswax using an electric wax pen called a “kistka”. Beeswax is used in the kistka because of its low melting point allowing the wax to flow in an even line and is removed easily with heat or cleaning solvent.
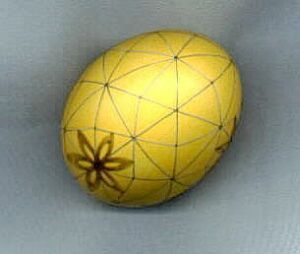
Now comes the series of dye baths. Starting with the lightest color (yellow), I set the egg in the dye for a few minutes until the color is right. Notice the lines waxed on the white egg have resisted the dye and will remain white. I start my pattern by waxing in a flower over the yellow dye. This flower will remain yellow on the finished egg.
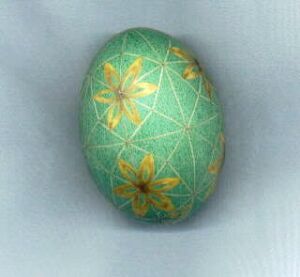
Next, the green dye bath. See how the flowers remain yellow because they are protected by the wax?
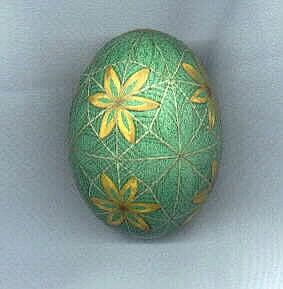
Waxing in the green background pattern.
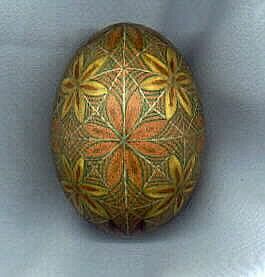
An orange dye is used to neutralize the green and allow a good red. If you try and dip a green egg into a red dye bath without doing the orange wash in between, it will come out brown. Always use the orange wash when changing color families. I’m also using the orange dye bath to wax in orange centers for the flowers.
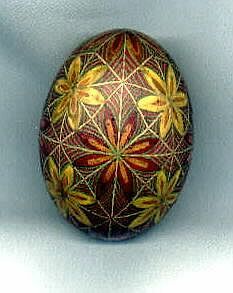
A red dye bath and more flower petals are waxed in.
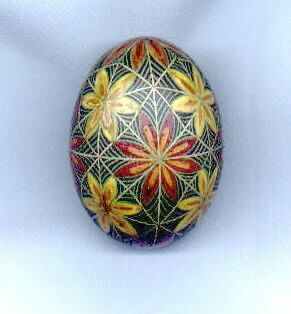
The final dye bath is the darkest color, usually black. I don’t need to wax over the black parts since I am finished with the dye baths, and there will be no other colors over the black dye.
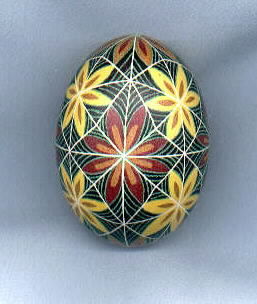
Now the fun part. I remove the wax by soaking it in a jar of naphtha, erase any stray pencil lines, and dip it in naphtha again, and wipe it with a tissue, assuring all the wax is removed. The egg is now ready to be emptied, cleaned, and varnished.
For a list of supplies mentioned in the above instructions, please see my Supplies For Egg Artists page.