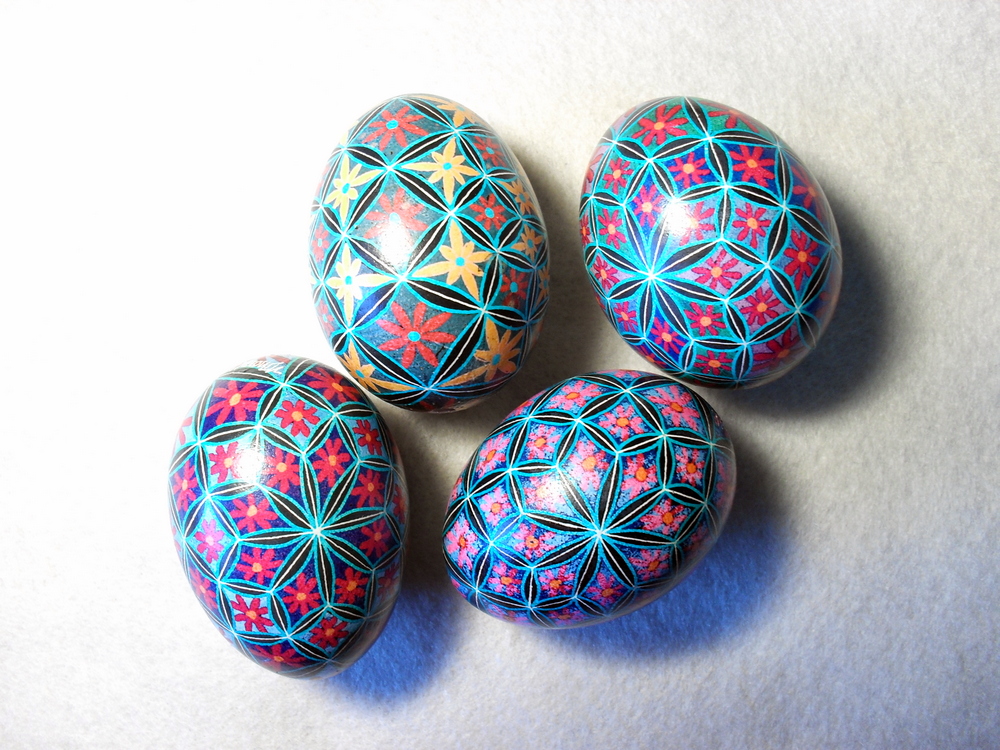
So. Your egg design is finished. You have done the final dye bath, and you now have a full egg with a lot of clumpy wax on it.
There are a couple of methods of wax removal, I prefer to use the chemical naphtha removal because it is quicker and it removes the wax completely with no residue. You can also remove wax in the traditional way, by holding it over a candle flame. But it takes longer, and I am impatient to see the design underneath the wax.
IMPORTANT – Be sure and read and follow the safety precautions for Naphtha. It is highly flammable, so keep it and your kleenex wipes away from any open flames. If you’ve ever worked with turpentine or mineral spirits, it is similar.
Preparation: You will need a lidded glass jar or container with an opening wide enough to lift an egg in and out. Fill the jar about halfway full with Naphtha, enough so the egg will be immersed completely. You will need a spoon for lifting the egg in and out of the jar. You will also need kleenex to wipe the egg and a soft (padded) surface on which to set the egg. I use an old washcloth laid out near the jar of naphtha.
With a spoon, lower your finished/waxed egg gently into the jar of naphtha so the egg is immersed. Replace the jar lid, so the naphtha does not evaporate.
Let the egg sit in the jar for about 10 minutes. You will see the wax begin to flake off.
The good thing about naphtha is that it will not alter the dyed surface at all. You can leave that egg in there overnight if you forget about it, and it will not harm the design.
After about 5-10 minutes, spoon the egg around a little bit so you can see if most of the wax has floated off. If there is too much wax left on, the egg will be very slippery when you spoon it out. The wax is like grease.
When it is ready, spoon the egg out carefully, with kleenex in your other hand, ready to capture the egg and transfer it from the spoon to your hand. It WILL be slippery so hold the egg down near the padded surface in case it slips out of your grasp.
Holding the egg firmly, rub and turn the egg around in the kleenex until all the wax is wiped off. A little bit of dye might come off on the kleenex, but this is residue and will not affect the design.
Inspect the egg under a light for stray pencil marks. Normally, the rubbing off of the wax will remove all the pencil marks. If pencil marks remain, use a white non-abrasive poly-eraser to remove them. I usually give the egg another dip in the naphtha for good measure after this. You want it to be grease-free for the varnish.
Pretty, isn’t it? I love removing the wax and revealing the bright colors.

Another note about working with naphtha. Your jar of naphtha cleaner can be used over and over, even after it starts to turn dark green. It does not lose its stripping properties, but the wax will start to build up in the bottom of the jar. When the wax layer gets too annoying, I filter it through a regular paper coffee filter, using a kitchen funnel set on the rim of a jar. Then the filter full of gooey wax can be disposed of. This naphtha-soaked wax is extremely flammable so take care to dispose of it properly, according to the directions on the naphtha container.