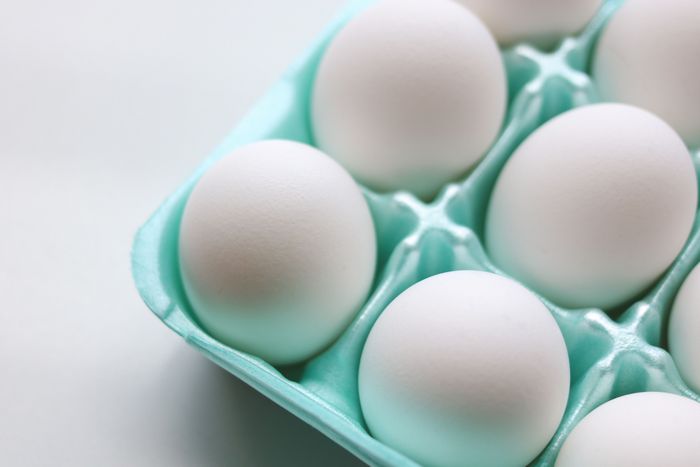
Choosing a good egg is essential to the outcome of your egg art. The best eggs are – of course – free-range, or eggs from a local chicken coop. But free-range eggs are not always available, especially if you live in the city. Grocery store eggs are fine, you just have to choose carefully. Read on to learn how.

What To Pick:
- Large AA eggs are my eggs of choice. Medium AA eggs are even better, but they are a little smaller. Your preference.
- Look for smooth, deep milky white shells. The color of the shell tells you a lot about the thickness of the egg.
- For brown eggs, look for smooth glossy surfaces. Dark spots are OK, they add character.
What Not To Pick:
- Branded eggs (Egglands Best, et al), that ink stamp never comes off completely.
- Extra-Large or Jumbo eggs. These are tempting because they are nice and big. But they almost always have very thin shells.
- Large thin areas on the shells. If you can easily see a large area that looks gray under the regular grocery store lights, those areas of the shell are too thin.
- Cracks. A no-brainer. Hint: run your finger over the eggs quickly, pushing them gently, to shift them a bit in the carton. If they stick – the insides have probably seeped out of a small crack and glued the egg bottom to the carton.
- Brown eggs that have a dusty-looking white surface. These have been over-bleached, or have a cleaning solvent on them which will affect the dye.
Honestly, you can make yourself crazy (and annoy other shoppers) trying to find the perfect carton of eggs, so just flip the lid open, look quickly, do a finger test to make sure none of them are glued in, and if most of them seem OK, go for it. You will do further inspection when you get them home.
When you do get them home, look at them under a close light and select the cream of the crop. You should get about 4-6 usable eggs out of a dozen. More if you’re lucky. Less if you weren’t paying attention when you bought them.
I use an egg-candling light that I happened to find at a garage sale for a few bucks. If you can find one, grab it. They make it easy to see the eggshell surface. If not – no worries – there are other methods.
If you have a small LED flashlight, you can use that, and if all else fails, you can do what I did for several years when I was first starting out, and use the refrigerator light!
Place the light source gently against the bottom rounded end (not the pointy end) of the egg. If you are using the refrigerator light, hold the egg slightly under, and in front of the bulb. Position the egg against the light until you get a good glow. You want to illuminate the whole inside of the egg.
Move the egg around to see all sides. Now you will see what you did not see in the grocery store. Hairline cracks, spider fractures, really thin areas, and bright spots that are almost a hole in the shell.
A few thin areas or semi-bright spots are OK. Thin areas shine brighter when lit. If the thin area is larger than the size of a dime – discard it. If the bright spots are really bright and could be a pinhole – discard it. Discard all cracks and fractures.
Choose the best of the bunch, and put them in a separate container so nobody fries them up for breakfast. I put a note on mine: “The Mama’s Eggs – Do Not Eat”
